The Basket Wall in 4 Steps That Makes Renters Look Like Collectors

We research every product we recommend and say so when we have tested it ourselves. If you buy through our links, we may earn a commission.
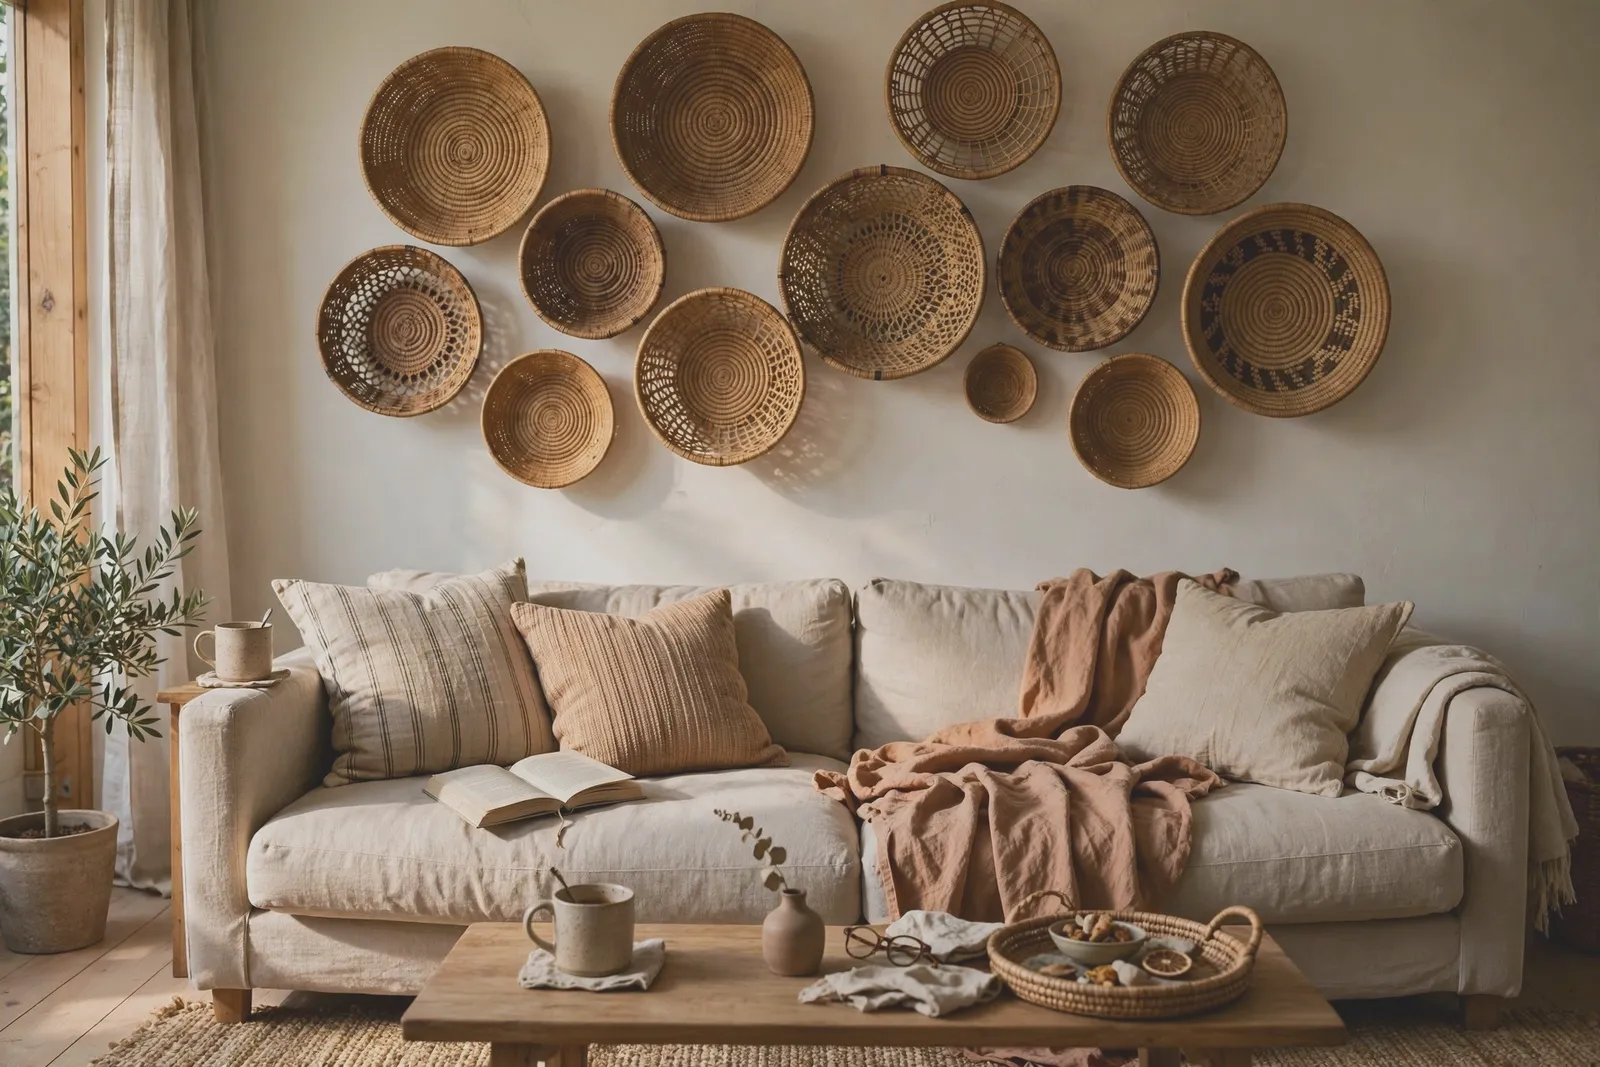
A basket wall looks like you spent years collecting — the secret is you can build it in one afternoon. These four steps take you from a pile of baskets to a gallery wall that reads as curated, not cluttered, with nothing more permanent than removable hooks.
1. Plan It on the Floor First
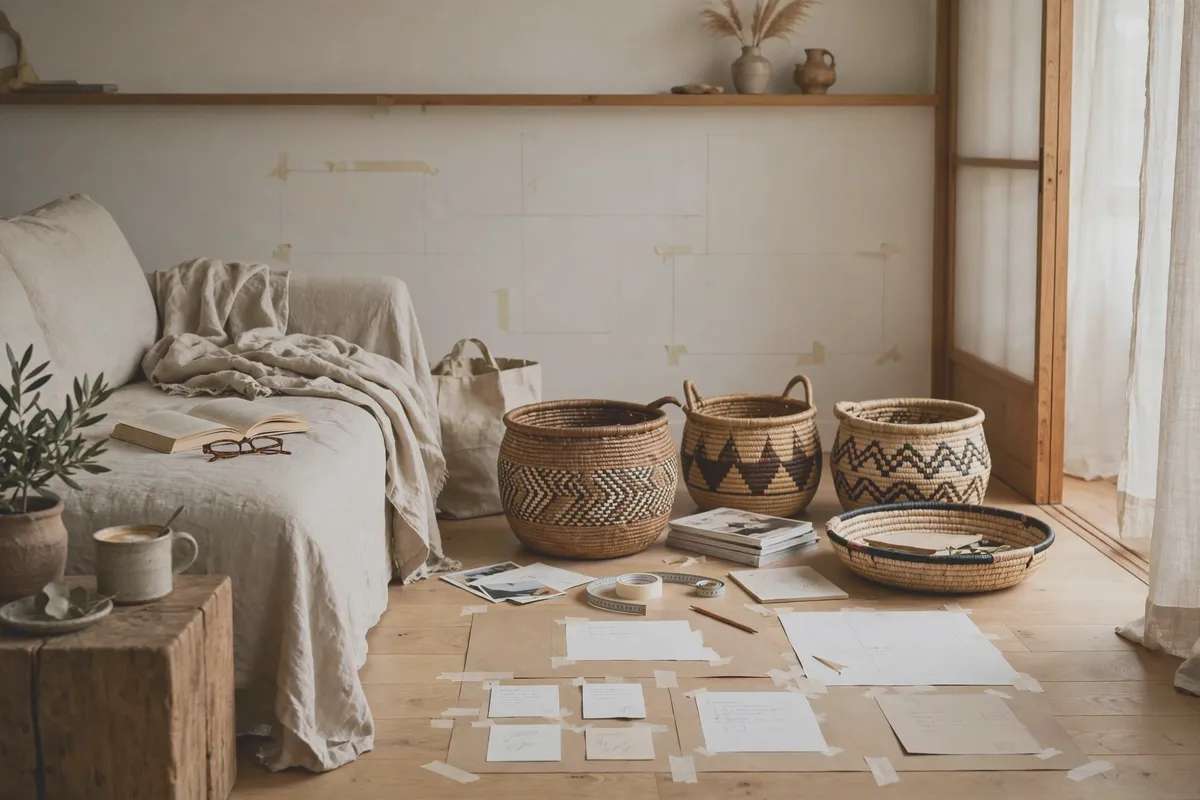
Do not start hammering — or sticking — anything until you have auditioned the layout on the floor. Lay your baskets out in the shape you want on the wall, mixing sizes, patterns, and depths until it looks collected rather than arranged. Take a photo of the winning layout; you will reference it constantly. Leave two to four inches between baskets so each one breathes.
Good to know: Trace each basket on paper to test layouts without lifting.
2. Stick, Don't Drill
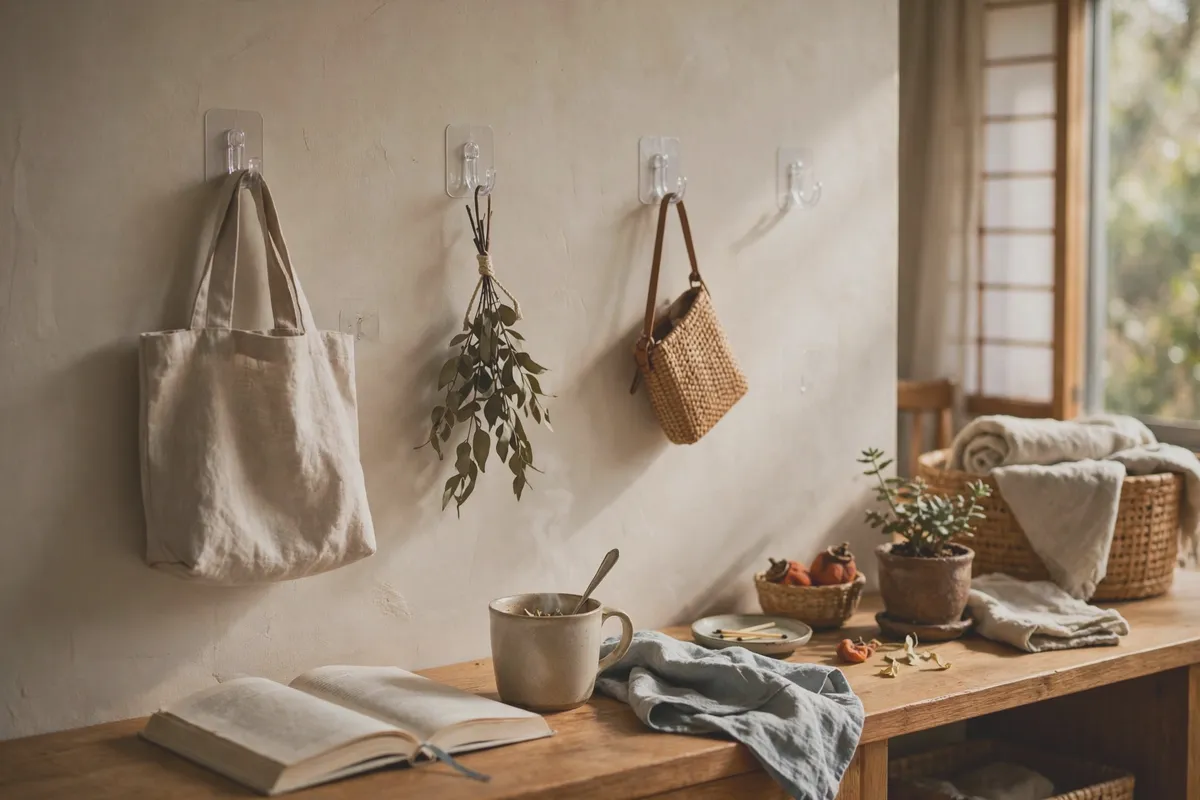
Removable adhesive hooks are the entire reason renters get to have gallery walls. Press one firmly onto the wall for each basket — clean the spot with rubbing alcohol first and the bond holds far better. Follow the weight rating honestly; baskets are light, which is why this whole project works. When you move out, they peel off clean and your deposit stays intact.
Good to know: Wait the full cure time on the package — usually an hour.
3. Spiral Out from the Center
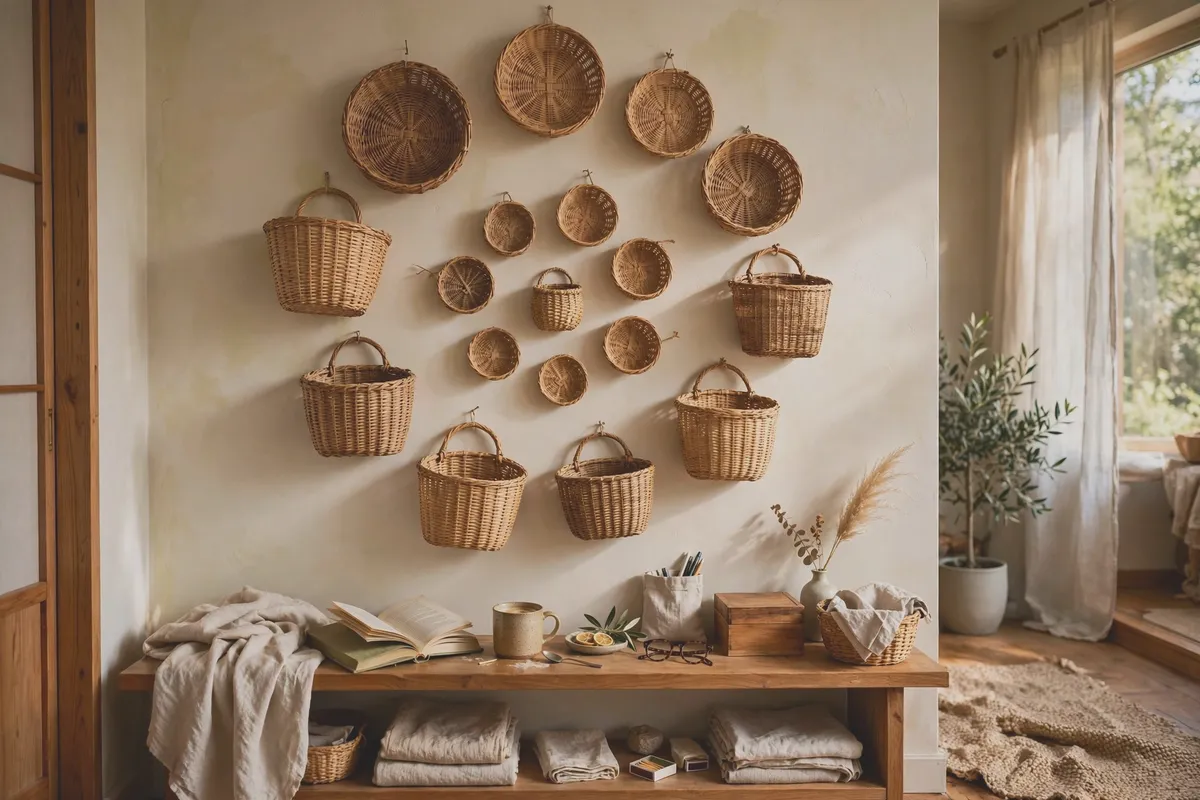
Start with your largest, boldest basket dead center — it anchors everything. Then work outward in a loose spiral, alternating sizes and patterns so no two similar baskets sit side by side. Step back every three or four baskets; walls lie to you up close and only tell the truth from the sofa. The goal is balanced, not symmetrical — collected over the years, not installed this morning.
Good to know: Odd numbers of baskets look more natural than even.
4. Style the Finish
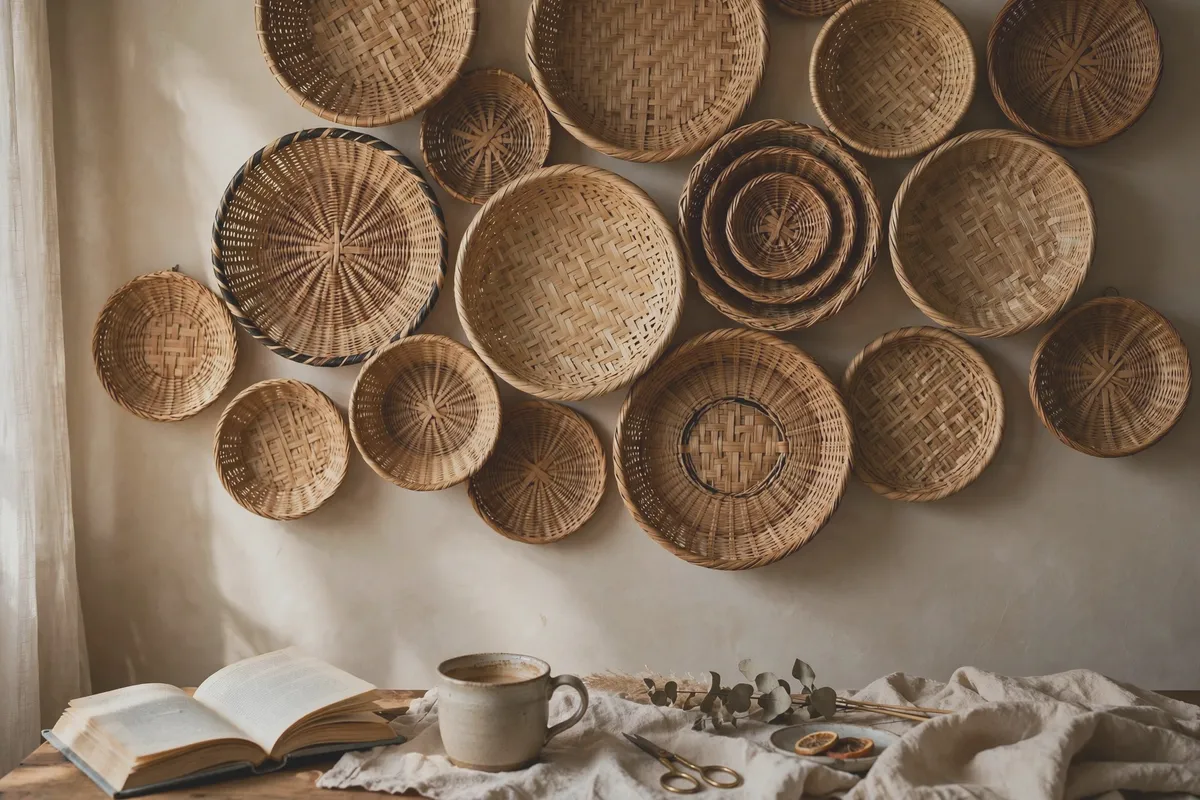
Once the last basket is up, style what sits below it — that is what makes it read as intentional. A sofa, a plant, a floor lamp: the wall becomes a backdrop instead of a floating craft project. Dust the baskets twice a year with a soft brush; woven textures collect dust the way shelves collect clutter. Stand back, take the photo, and enjoy looking like a collector.
Good to know: A small plant beside the wall softens the whole arrangement.
Four steps, zero holes, one wall that looks collected. Baskets are forgiving — if a layout feels off, peel, shift, and re-stick.