Kitchen Countertop Organization in 5 Steps: Clear It in One Hour


We research every product we recommend and say so when we have tested it ourselves. If you buy through our links, we may earn a commission.
A crowded counter makes the whole kitchen feel small. These five steps clear it in about an hour: pull everything off, keep only the daily zone, and move the rest up the wall or out of sight.
1. Photograph the Before Chaos
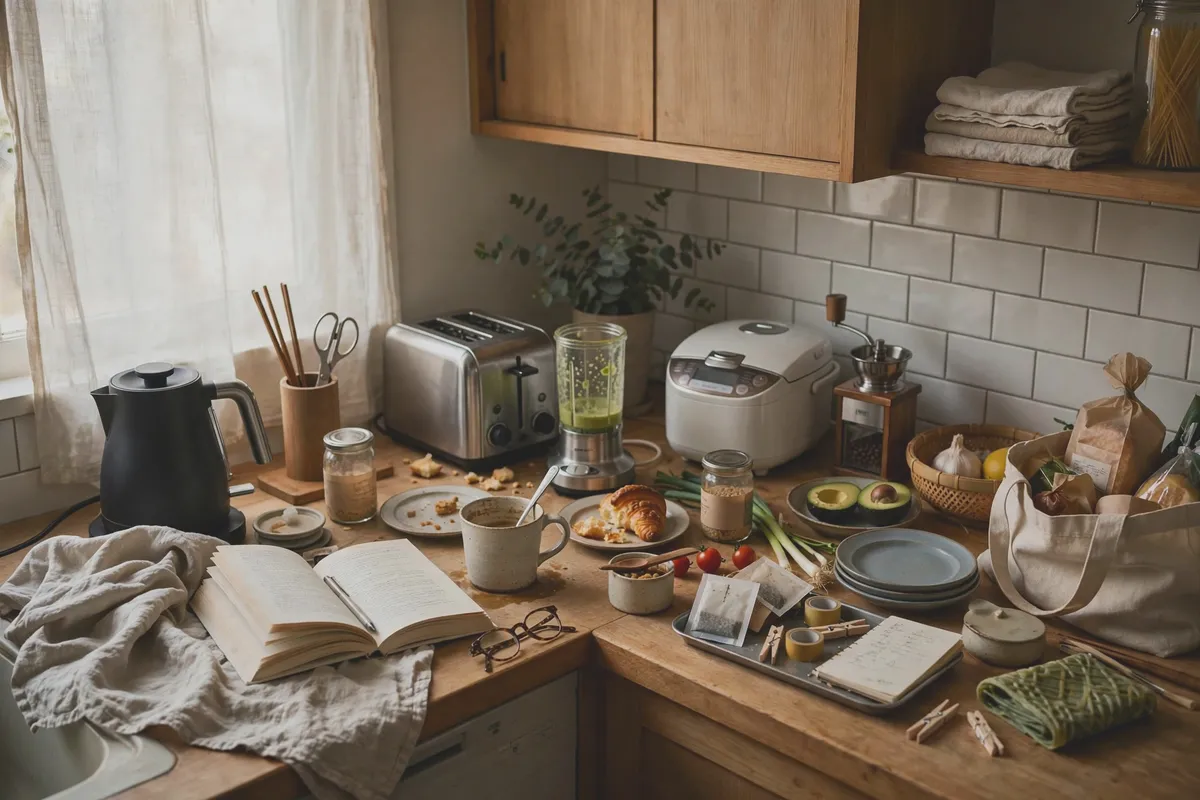
Before you touch anything, take a photo of the counter as it is. You need the honest before shot — partly for motivation, mostly because you will forget how bad it was by tomorrow. Then look at the photo like a stranger: every appliance, every orphan mug, every gadget you forgot you owned. That distance makes the next step much easier, because the camera does not make excuses for clutter.
Good to know: The photo also helps you remember where the keepers lived — you will put them back.
2. Pull Everything Off and Sort
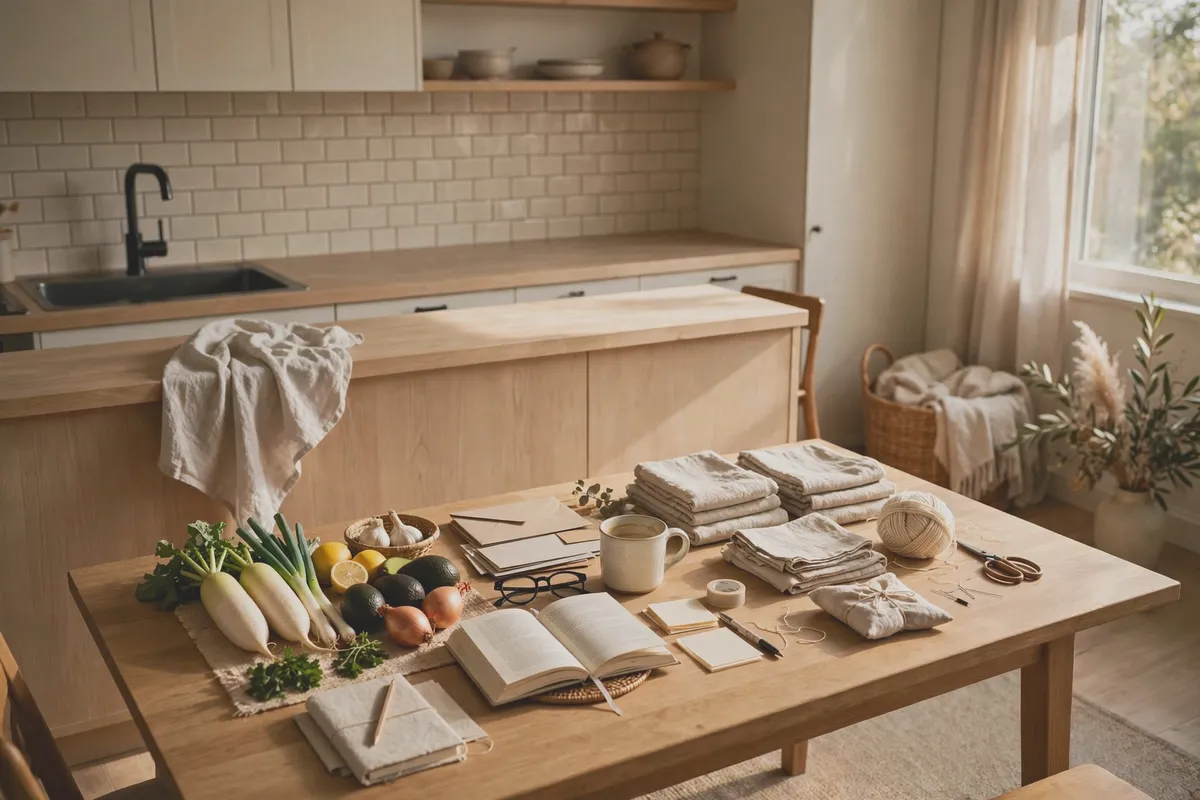
Everything comes off the counter — all of it, no exceptions. Sort into four piles: daily use, weekly use, rarely used, and why-is-this-here. Be honest about the rarely pile; the bread maker you used twice in 2019 does not earn counter space. This takes about twenty minutes and feels chaotic, but you cannot zone a counter you cannot see. The piles make the decisions for you.
Good to know: The why-is-this-here pile usually donates itself — let it.
3. Build One Daily-Use Zone

Only the true dailies earn a spot back on the counter: the coffee maker, the salt and oil, the knife block — whatever you touch every single day. Group them into one compact zone near where you actually work, not spread across the whole counter. Everything else finds a home in cabinets or on the wall. One zone looks intentional; five scattered appliances look like clutter, even when each one is useful.
Good to know: If you have not touched it in two weeks, it is not a daily — cabinet it.
4. Admire the Cleared Counter
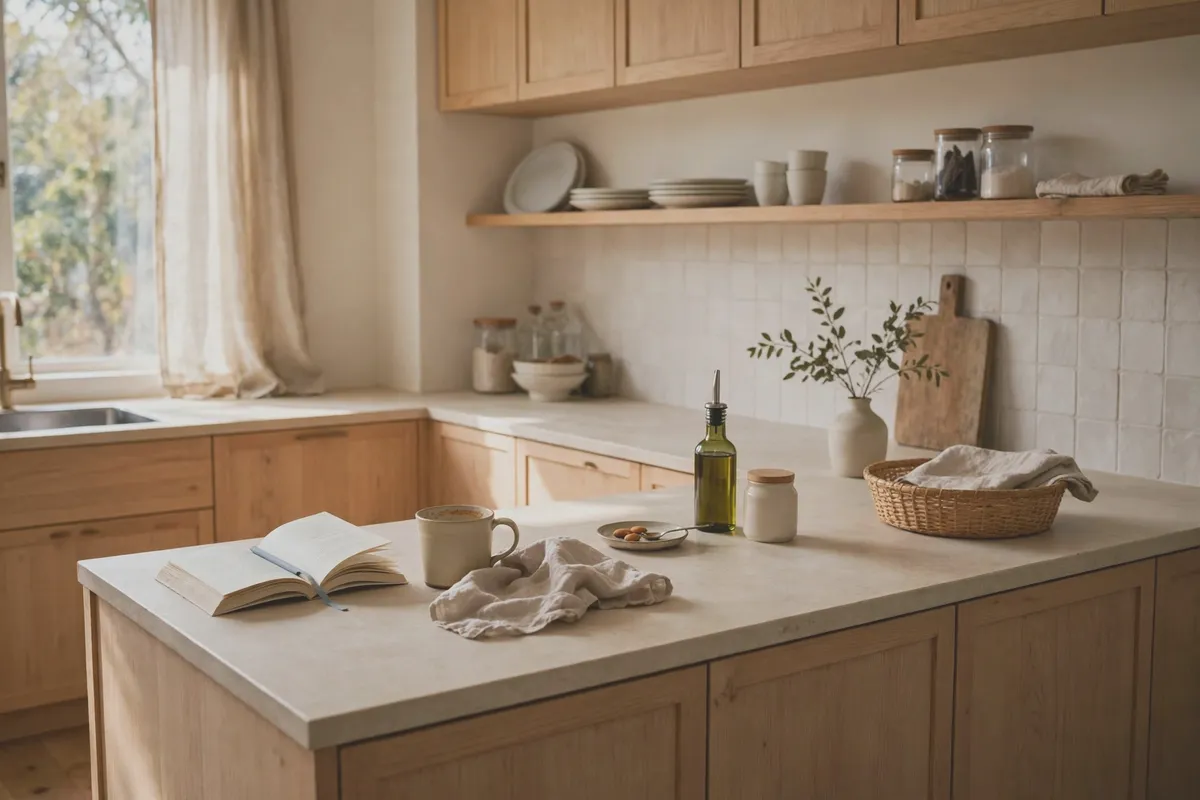
Step back and look at the cleared counter — this is what your kitchen actually looks like. Notice how much bigger the room feels and how much easier it is to wipe down. Take the after photo now, while it is perfect. Then live with it for a week before changing anything; the empty space will teach you what you actually miss. Most people discover they missed almost nothing, which is the whole lesson.
Good to know: Keep the before-and-after photos — they are your defense the next time clutter creeps in.
5. Move Utensils Up the Wall
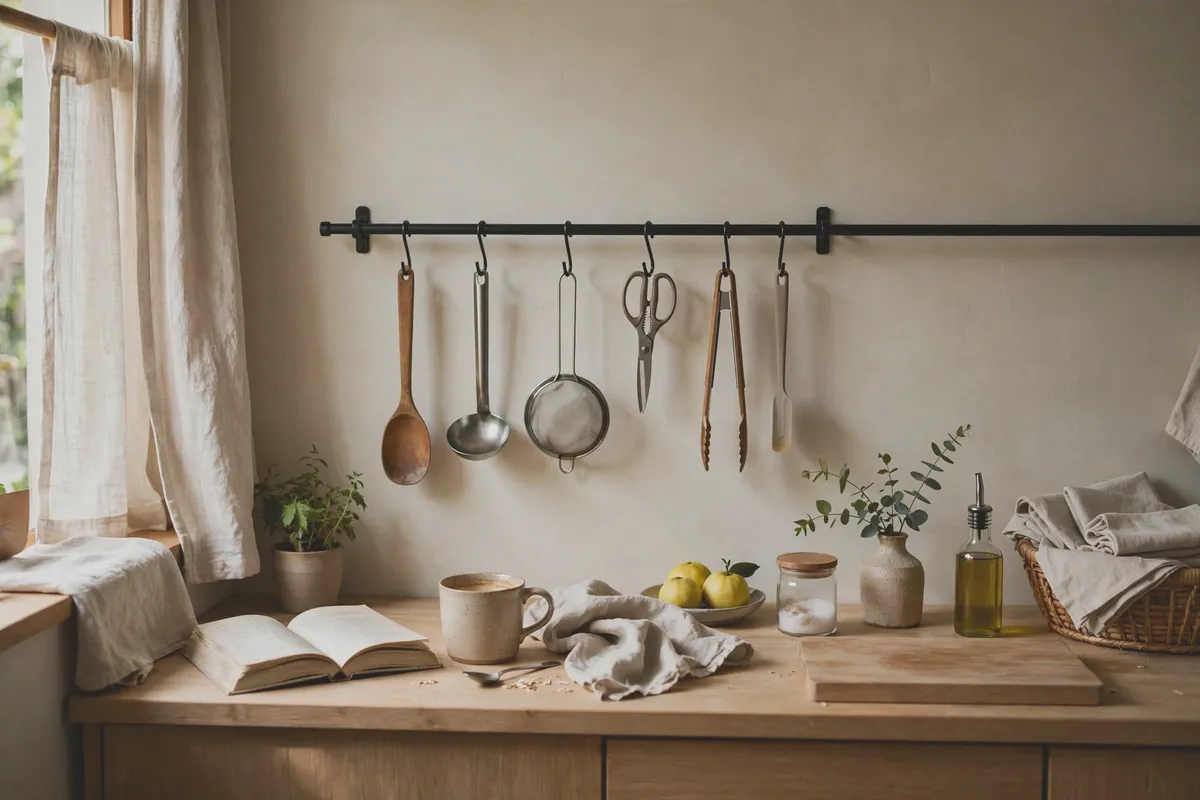
The utensils still need a home, and the wall is waiting. A mounted rail with hooks holds spatulas, ladles, and the whisk — everything visible, everything reachable, zero counter footprint. It keeps the daily zone truly minimal while the tools stay within arm's reach of the stove. In a rental, use a heavy-duty adhesive rail or a tension-mounted one; both come down clean and hold a full set of tools without complaint.
Good to know: Hang the most-used tools closest to the stove — reach beats symmetry.
One hour, five steps, and the kitchen feels twice as big. The real trick is the daily zone — guard it. When a new gadget tries to move in, something old has to move out.